Instructions
Step 1 - Get the broccoli!
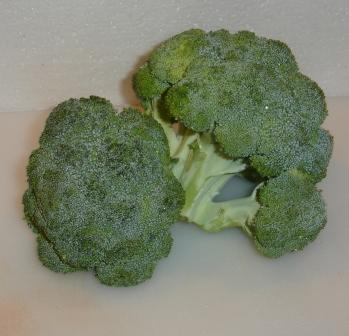 This is the most important step! You need broccoli that are FRESH and crisp. Limp, old broccoli will make nasty tasting frozen broccoli.
Broccoli are of the best quality when they are tight, before the florets start to open or turn yellow.
Step 2 - Wash the broccoli!
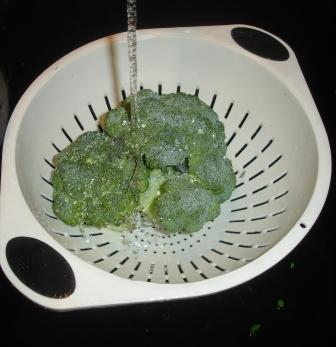
I'm sure you can figure out how to rinse the broccoli in plain cold water.
Step 3 -Split the broccoli 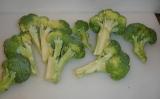
Select firm, young, tender stalks with compact heads. Split lengthwise so flowerets are no more than 1 1/2 inches across. Remove leaves and woody portions. Separate the heads into convenient-size sections.
Step 4 - Soak the florets in brine (salt water)
Soak the broccoli in brine (4 teaspoons salt to 1 gallon ordinary tap water) for 30 minutes to remove insects. The rinse under fast running water.
Step 5- Get the pots ready
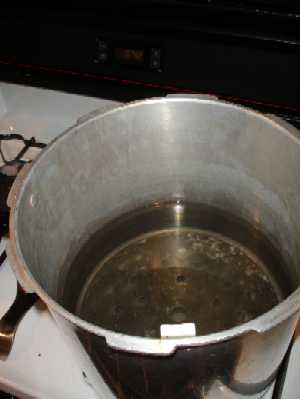 Get the pot of boiling water ready (about 2/3 filled) and a LARGE bowl with ice and cold water.
Step 6 - Blanch the broccoli. 
All fruits and vegetables contain enzymes and bacteria that, over time, break down the destroy nutrients and change the color, flavor, and texture of food during frozen storage. broccoli requires a brief heat treatment, called blanching, in boiling water or steam, to destroy the enzymes before freezing. Blanching times for broccoli is 3 minutes (or blanch with steam for 5 minutes) - the duration is just long enough to stop the action of the enzymes and kill the bacteria.
Begin counting the blanching time as soon as you place the broccoli in the boiling water. Cover the kettle and boil at a high temperature for the required length of time. You may use the same blanching water several times (up to 5). Be sure to add more hot water from the tap from time to time to keep the water level at the required height.
Step 7 - Cool the broccoli
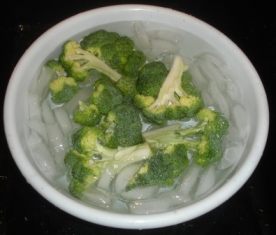 Cool broccoli immediately in ice water. Drain the broccoli thoroughly (this shouldn't take more than a minute).
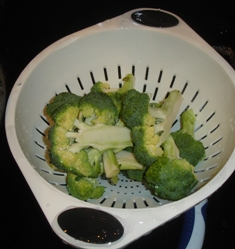
After vegetables are blanched, cool them quickly to prevent overcooking. Plunge the broccoli into a large quantity of ice-cold water (I keep adding more ice to it). A good rule of thumb: Cool for the same amount of time as the blanch step. For instance, if you blanch sweet broccoli for 3 minutes, then cool in ice water for at least 3 minutes.
Drain thoroughly.
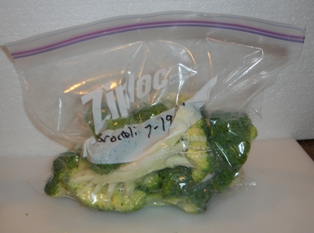
Step 8 - Bag the broccoli
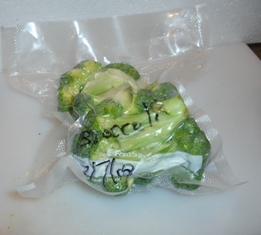 I love the FoodSavers (see this page for more information) with their vacuum sealing! I am not paid by them, but these things really work. If you don't have one, ziploc bags work, too, but it is hard to get as much air out of the bags. Remove the air to prevent drying and freezer burn. TIP: If you don't a vacuum food sealer to freeze foods, place food in a Ziploc bags, zip the top shut but leave enough space to insert the tip of a soda straw. When straw is in place, remove air by sucking the air out. To remove straw, press straw closed where inserted and finish pressing the bag closed as you remove straw.
Step 9 - Done!
Pop them into the freezer, on the quick freeze shelf, if you have one!
This is from a great website, pickyourown.org.
No comments:
Post a Comment